Parsec provides the power of a remote desktop, in crystal clear, interactive HD. Connecting through Parsec to work is a replaceable solution in case the remote desktop is unable to be used. Some cases using Parsec when:
- Some types of 3D software need to enable the video card, Adobe Dimension for example, while Remote Desktop Connection disables GPU on those.
- NV Link is disabled when using Remote Desktop Connection (RDP).
- When using RDP but it’s slow and a bit laggy (this may be due to your location).
- When using RDP for purposes of playing games or streaming, etc.
To set up Parsec
1. Create a Parsec account here
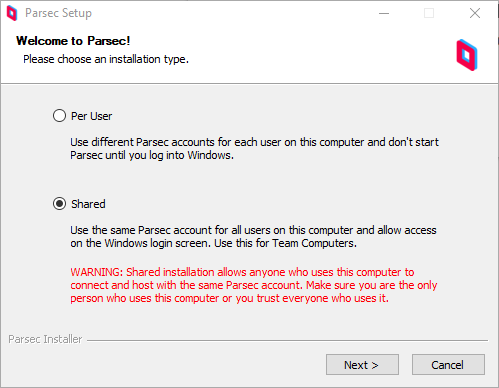
2. Download Parsec
Go to the downloads page and download the version of Parsec

To use Chip Render servers through Parsec
1. Log in
- Log in to your Parsec account on your PC.
- Log in to your Parsec account on the Chip Render server that is being used through .rdp file first.
2. Verify login attempt
- Whenever you login from a new location on Parsec, you’ll receive an email to verify your login attempt from a new IP address.
Tip:
em>In case you cannot find the email, try the following guide:
- Search for emails titled ‘Verify a login attempt from a new location’.
- Check your spam box for emails of the same title.
- If you have received confirmation emails from Parsec before, make sure that the email Parsec just sent you didn’t automatically get “threaded” (hidden) beneath an older email they sent you. You can identify the email by the IP address, which will match the one shown on the login screen.
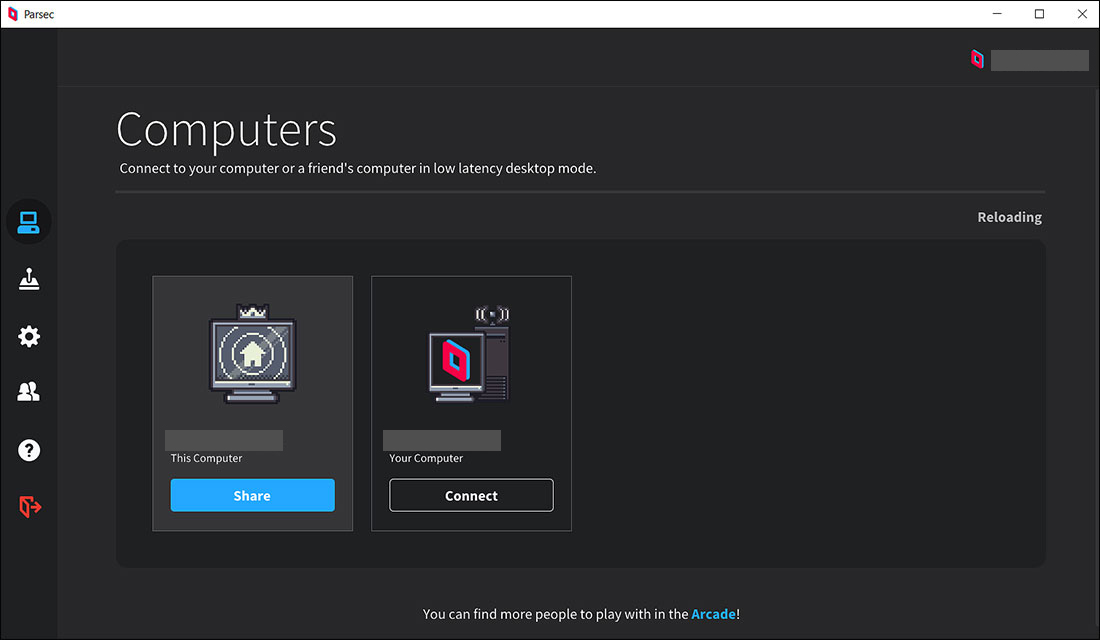
Once successfully log in on both your PC and Chip Render server, the Computers tab will display 2 devices like the following photo:

3. Close the current remote desktop
- You are connecting to the Chip Render server through the .rdp file. Now, close the current remote desktop – the .rdp file.
4. Connect through Parsec
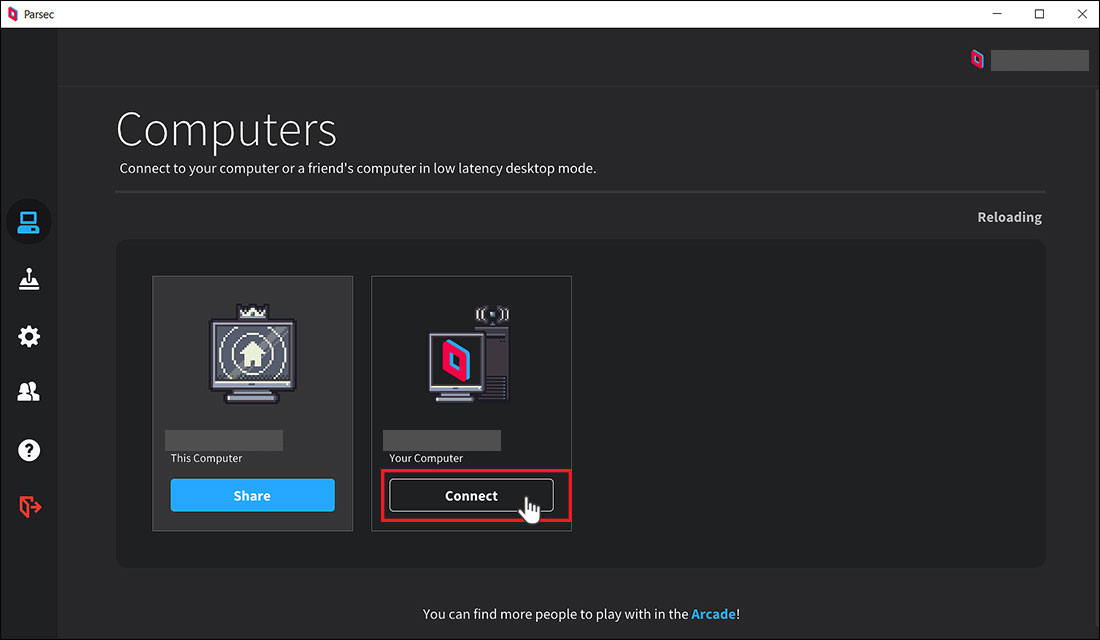
- On your PC, open Parsec. Go to the Computers tab, and choose Connect to the Chip Render server as the following image.
- Now, you can connect to the Chip Render server through Parsec.


